Maximizing Youth Soccer Performance: The Importance of Off-Season Strength and Conditioning
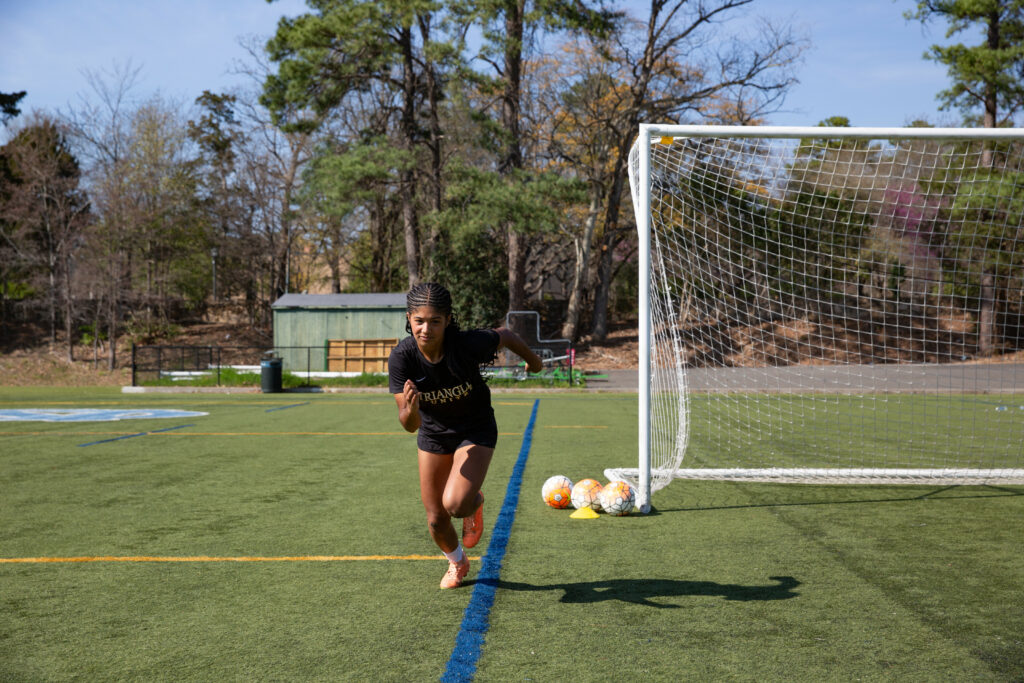
As professional youth performance development coaches with years of experience in shaping young athletes, we understand the critical role that off-season strength and conditioning programs play in the development of youth soccer players. While honing technical skills is undoubtedly vital, dedicating time to enhance athleticism during the off-season can truly elevate a player’s game to […]
Ankle Mobility – Knee to Wall Stretch Test
Ever wonder if your ankle range of motion was sufficient for your exercise needs? Did you know that a common side effect of ankle sprains is actually losing the flexibility of your ankle bending forward on itself? Did you know that one facet of impaired squat depth could be a lack of ankle bend!? And […]
Shoulder Stabilization – Hanging Scapular Retraction
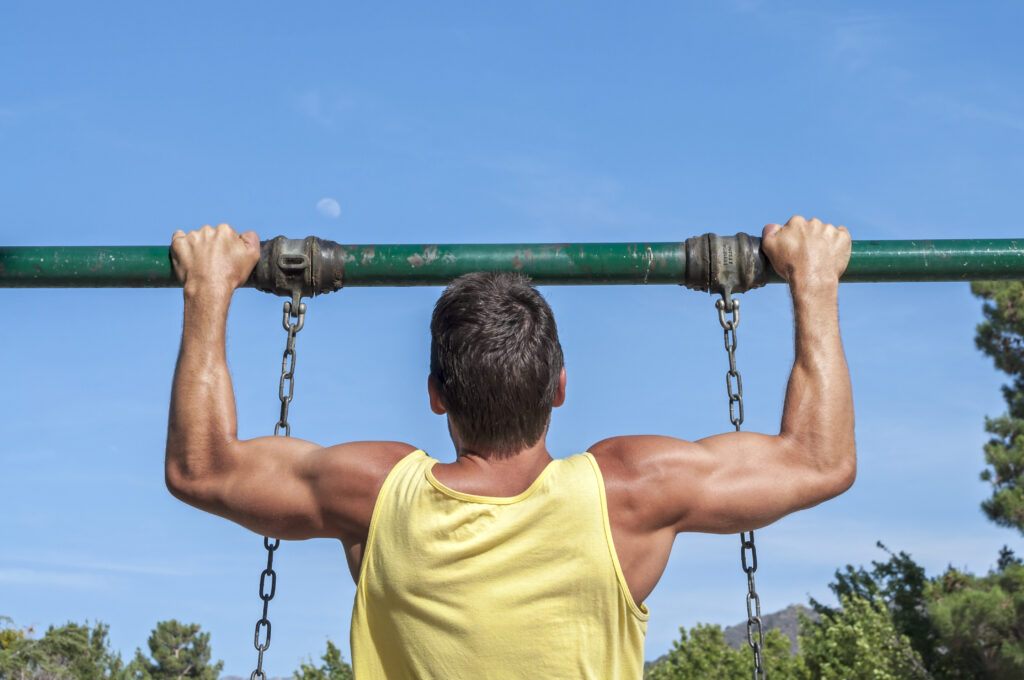
All right my ninja warriors, obstacle course race athletes, Cross-fitters, and ANYONE wanting to master the pull-up, this is one for you! I want you to take a second and appreciate how important our shoulder blade is and all the muscles that connect to it that impact how our shoulder and arms move in space. […]
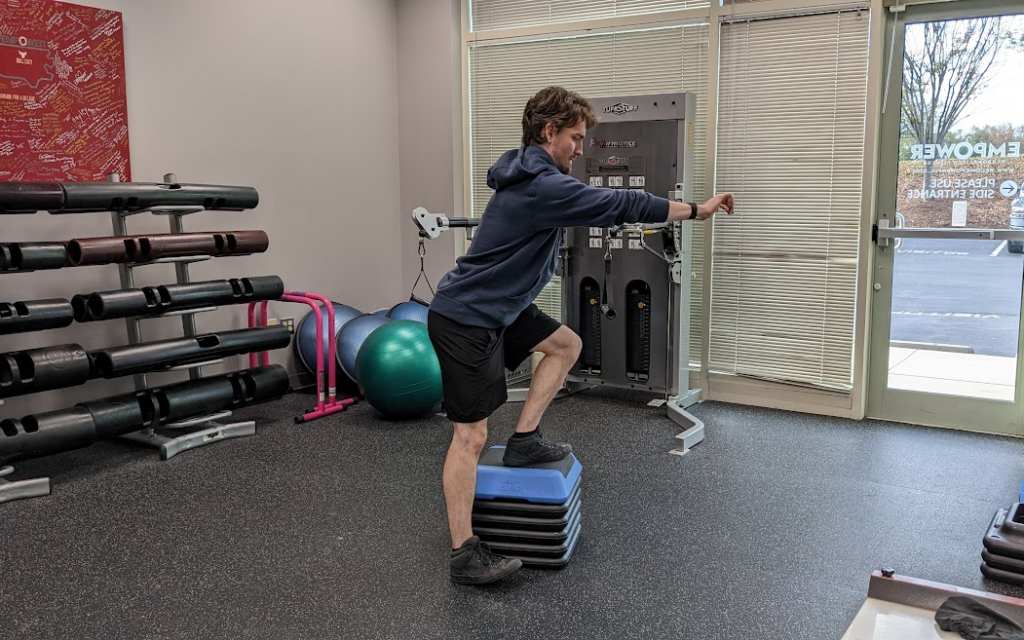
Addressing Knees Over Toes
There is a common myth in the fitness industry that you cannot push your knees over your toes during lower body strengthening exercises. This is not the case and should be explained. It is often said that you are at a higher chance of injuring your knees if you go knees-over-toes during your exercises. Now, […]
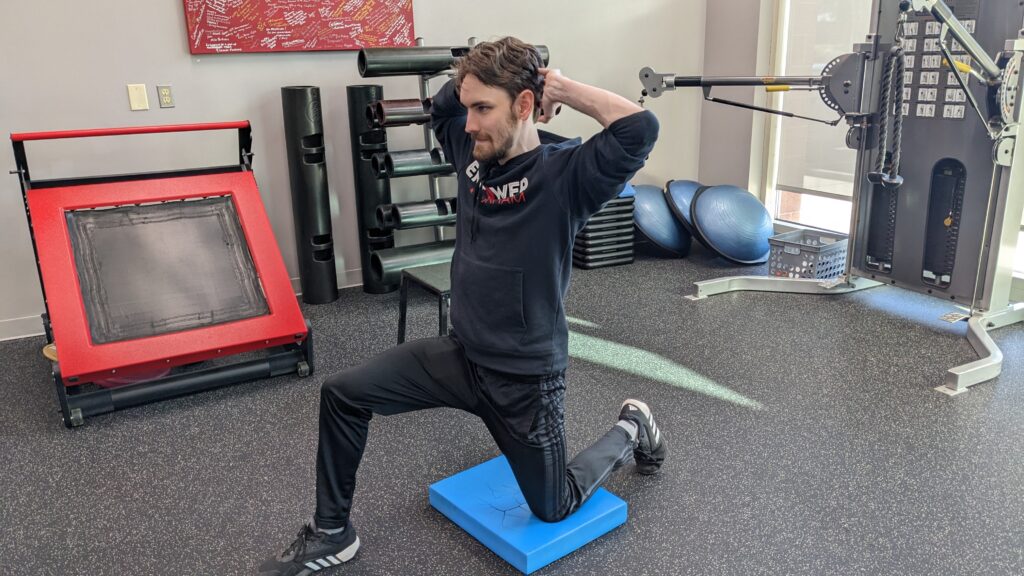
Off Set Resistance Exercises
Offset resistance exercises are strength based movements that asymmetrically load one side of the body. This type of training can help improve coordination, motor control, and overall movement posture. Here are some examples of exercises using this method: ▪️REVERSE LUNGES – Place the weight on the same side as your working leg. Turn hips forward […]
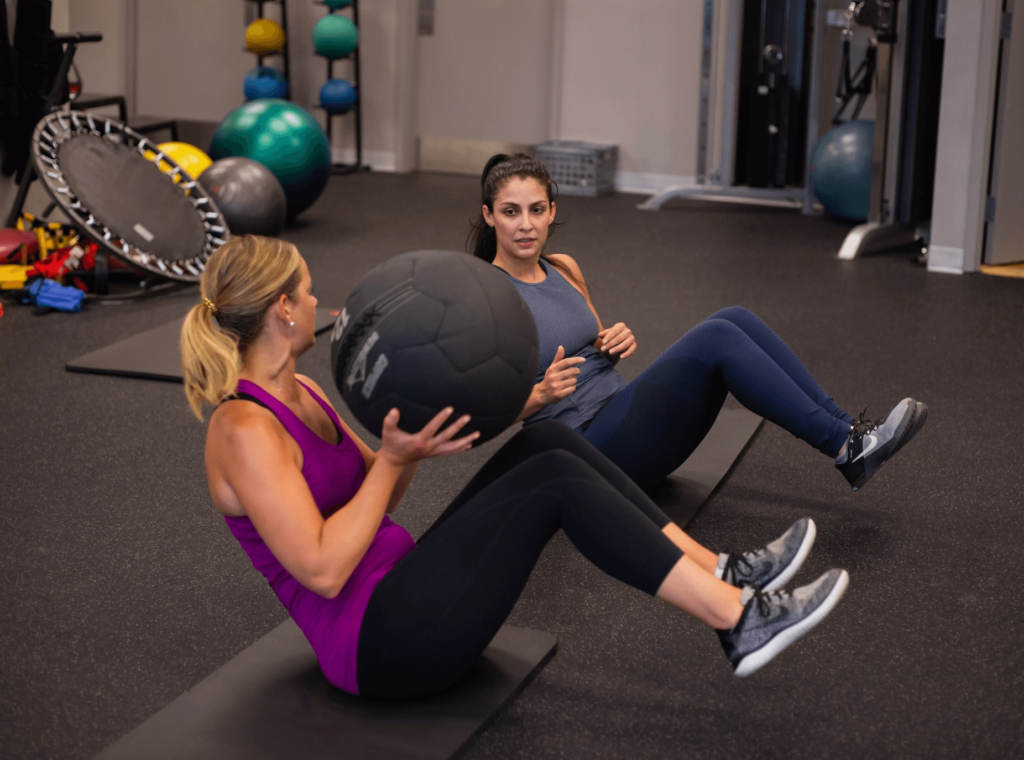
A Core Circuit for the Whole Trunk
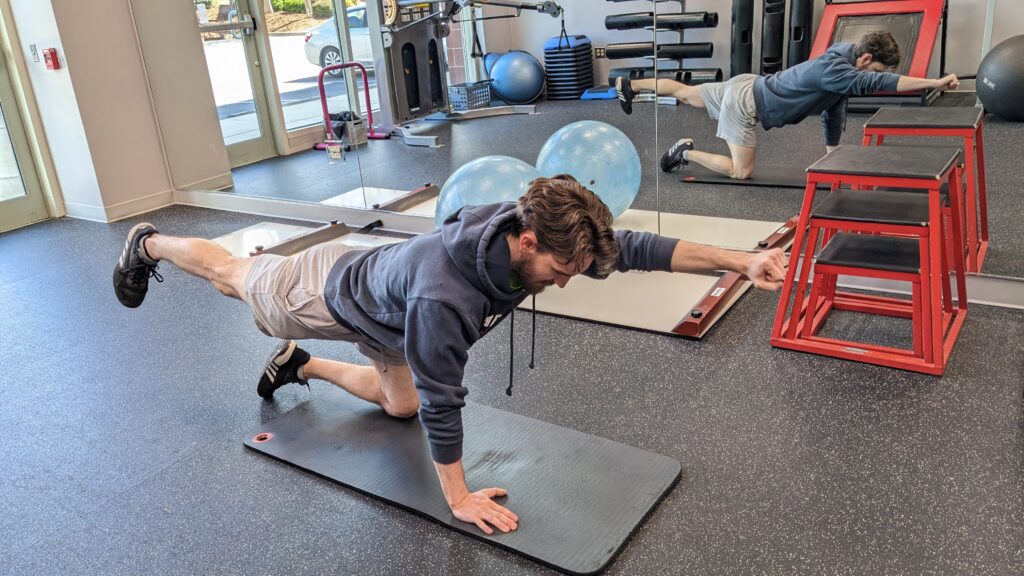
Many people think “core” exclusively means abs, and that abs means crunches. In reality, the core is a myriad of muscles involved in the stabilization of the lumbar (lower) spine, hips, and ribcage. Someone could design a core circuit around trying to train each of those muscles individually. However, functionally it is rare that any […]
Beginner-Friendly Hip Mobility
Welcome back to the mobility and stability series! Being the first ball-and-socket joint in the series, the hip mobility has a lot of nuance that can be explored. That being said, the vast majority of these muscles and functions can be addressed with just five basic stretches. Improving hip mobility is important to be able […]
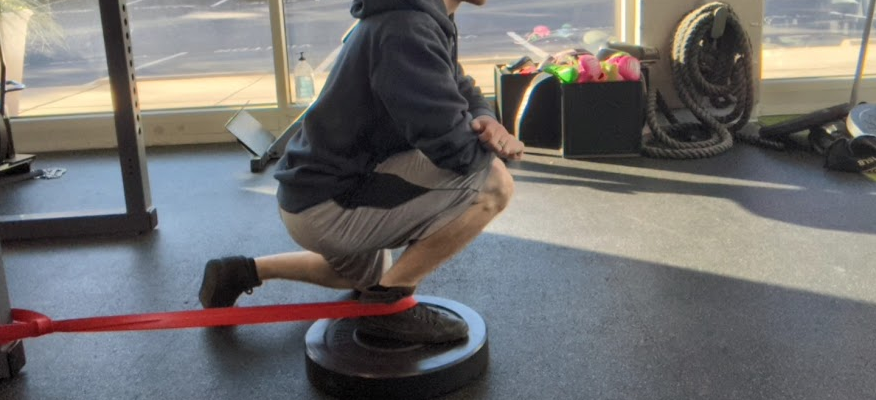
Squat Touchdowns: the Only Exercise Your Knees Need?
Knee stability is nearly entirely dependent on the mobility and strength of the ankles and hips. While we covered ankle mobility last week and will cover hip mobility next week, today we’ll discuss the three reasons why squat touchdowns can be the best fool-proof way to bullet-proof your knees. Reason 1: Targeting the VMO The […]
Intro to Mobility and Stability: the Ankles
Stability and mobility are terms you may have seen used by fitness professionals and influencers, advertising certain exercises to help fix certain ailments or enhance certain aspects of your fitness. How do you know if these are movements that will be helpful to you? This series will help to put the concepts of mobility and […]
How to Exercise for Weight Loss
Exercise comes in many different forms, all of them with unique effects on your physiology, health and physique. Given such a wide variety of options, how does someone choose the right exercises and exercise types to optimize weight loss? Resistance Training While all exercise is going to involve some kind of resistance, here what we’re […]