How To Avoid Burnout From a Busy, Stressful Job

If you’re working lots of hours a week and have a particularly high stress, high responsibility, busy job, then you likely know how easy it is to feel burnt out and run down by your work. Luckily, the steps you need to take are pretty simple to help you have better energy, better mood, better […]
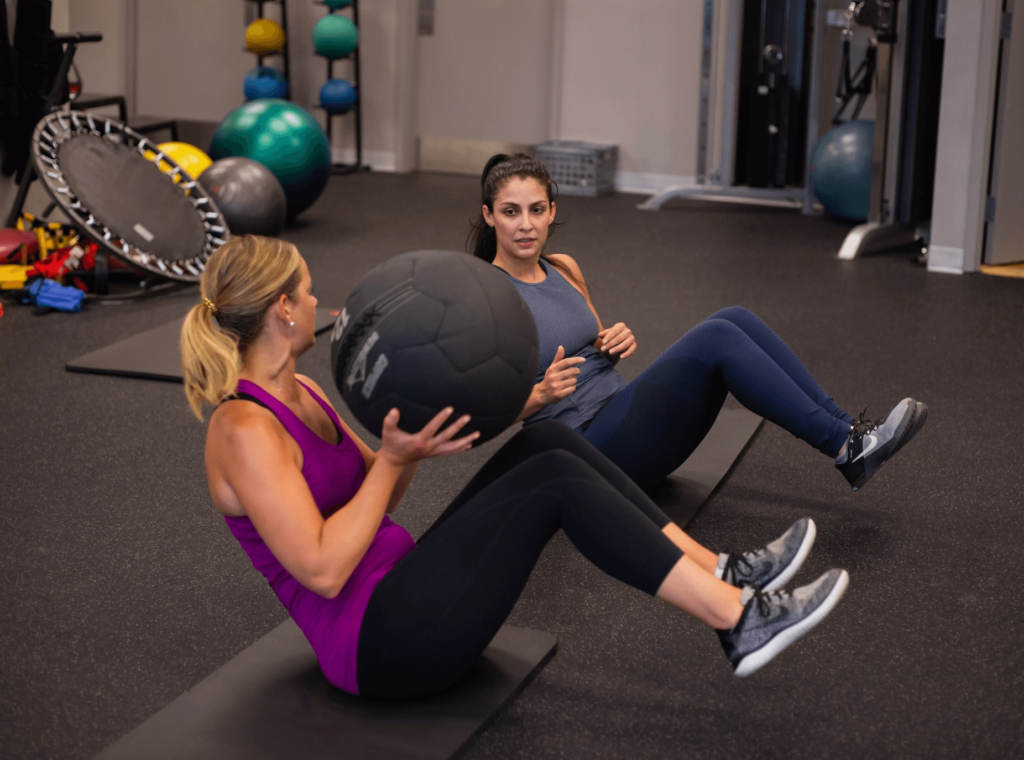
Workout Wednesday
Workout Details Using two kettlebells in this position adds an instability factor to the shoulders, which then translates to the core. Make sure to use two lighter kettlebells because the weight will add up! These are exercises where you are pushing or pulling against an immovable object. These are effective for training certain postures during […]
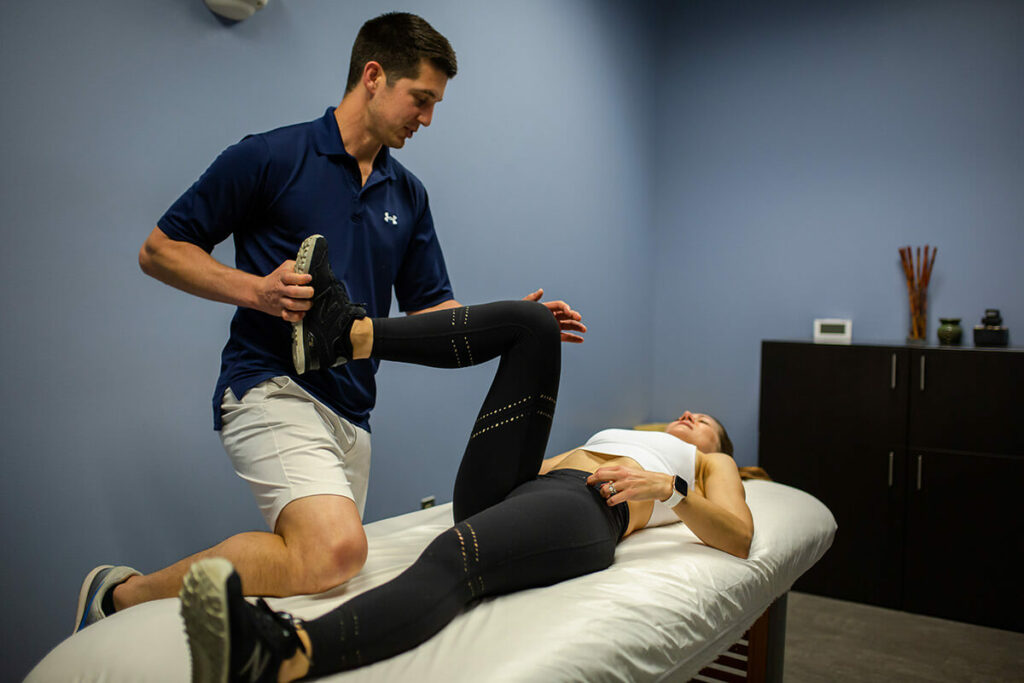
Beginner-Friendly Hip Mobility
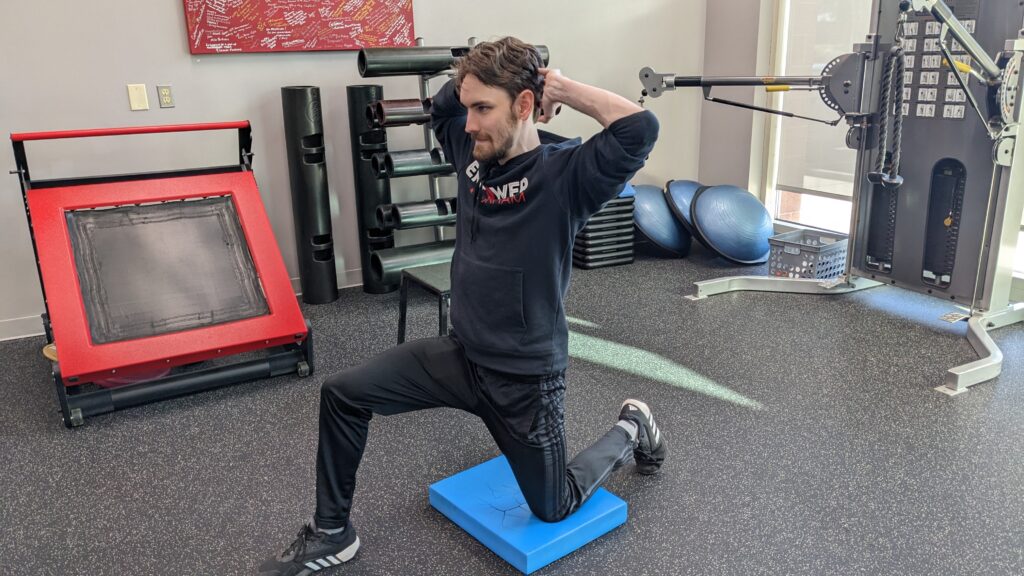
Welcome back to the mobility and stability series! Being the first ball-and-socket joint in the series, the hip mobility has a lot of nuance that can be explored. That being said, the vast majority of these muscles and functions can be addressed with just five basic stretches. Improving hip mobility is important to be able […]
Squat Touchdowns: the Only Exercise Your Knees Need?
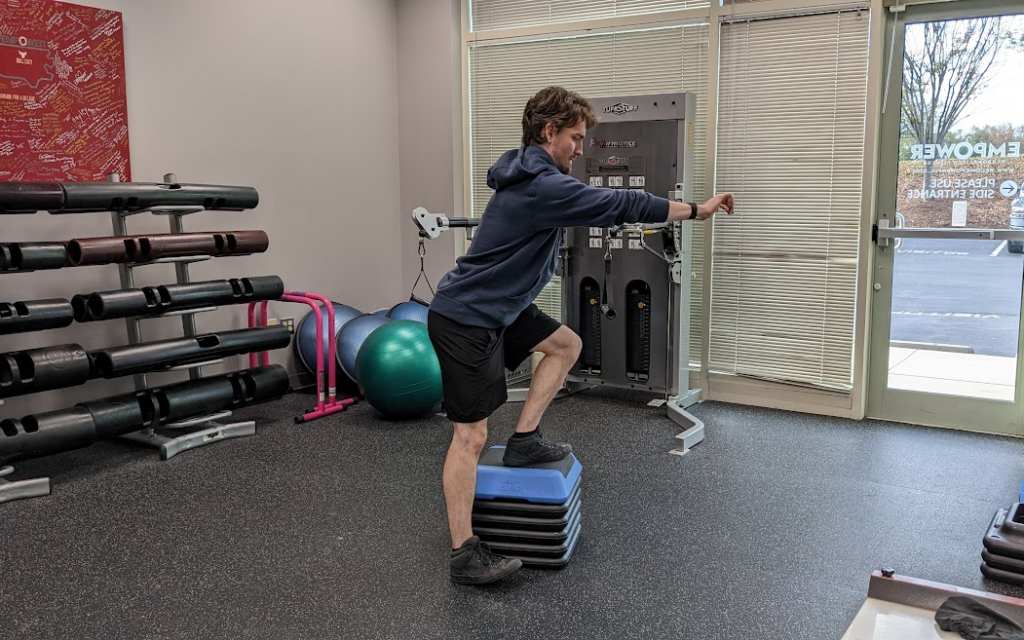
Knee stability is nearly entirely dependent on the mobility and strength of the ankles and hips. While we covered ankle mobility last week and will cover hip mobility next week, today we’ll discuss the three reasons why squat touchdowns can be the best fool-proof way to bullet-proof your knees. Reason 1: Targeting the VMO The […]
Intro to Mobility and Stability: the Ankles
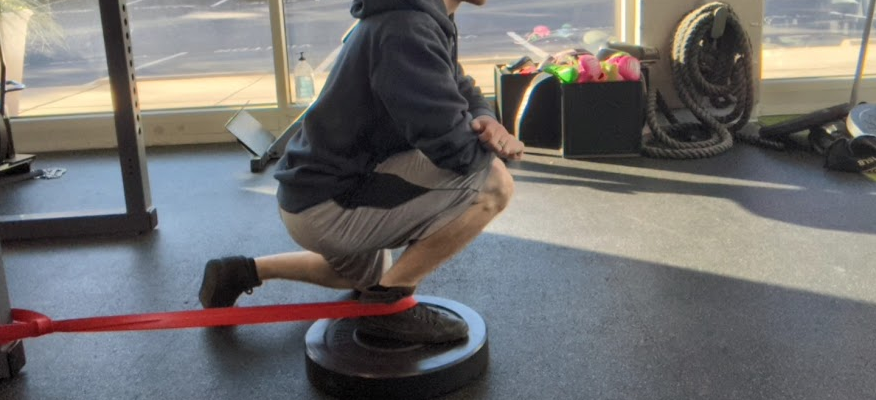
Stability and mobility are terms you may have seen used by fitness professionals and influencers, advertising certain exercises to help fix certain ailments or enhance certain aspects of your fitness. How do you know if these are movements that will be helpful to you? This series will help to put the concepts of mobility and […]
How to Exercise for Weight Loss
Exercise comes in many different forms, all of them with unique effects on your physiology, health and physique. Given such a wide variety of options, how does someone choose the right exercises and exercise types to optimize weight loss? Resistance Training While all exercise is going to involve some kind of resistance, here what we’re […]
Low Back Pain? Tight Hip Flexors? Here Are 3 Stretches to Help
[vc_row nav_skin=”light” consent_include=”include”][vc_column css_animation=””][vc_column_text]If you’re experiencing low back pain, tightness in the hips, and posture where your hips seem to live angled behind your spine, you’re likely experiencing something called anterior pelvic tilt. Here, we’ll detail 3 stretches you can do to help alleviate that pain and bring comfort back into your day-to-day. Hip Flexor […]
Fitness Fun . . . Let’s Go!
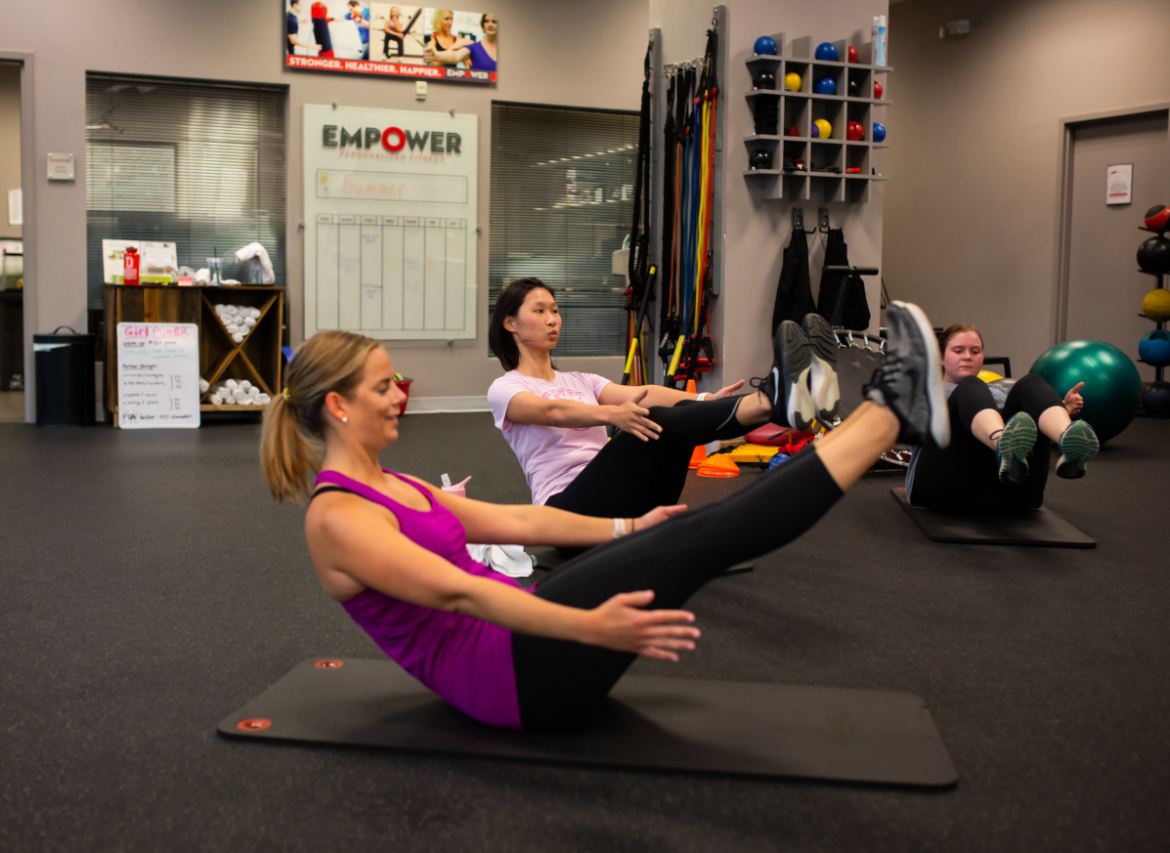
Ways to make Fitness Effective and Fun “FUN” is not always the first word that comes to mind when someone says “physical fitness” or “workout”, but why not? I love working out and most of the time I do find it fun. Working out can be done in hundreds of different ways so the key […]
Fab 4 Fitness Moves Friday – Squat it Out!

Ever wonder how Beyoncé gained her assets? She probably did a few squats.The benefits of squats are many, but they crush calories, improve core strength, and you don’t need equipment to do any.Squats are a compound movement – one that hits several major muscle groups at a time – which means they are a fantastic […]